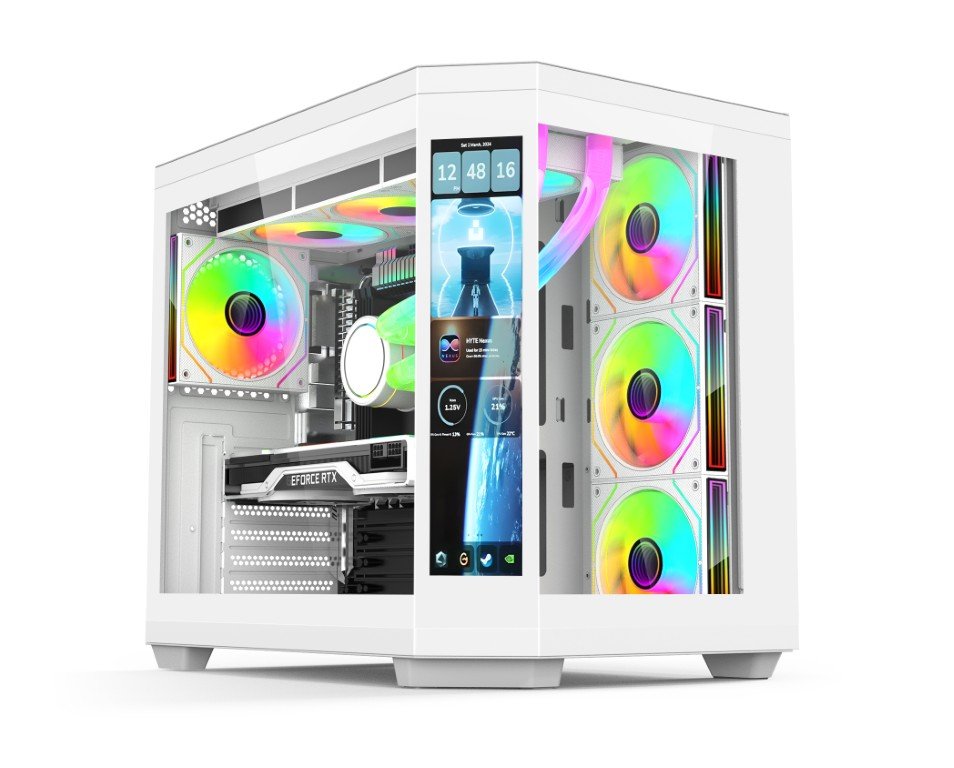
LCD Control Setup Guide
Step 1: Download LCDControl
- Get the Software from https://www.ionz.co.uk/software/APEXVISIONV2.zip
- Download the latest version of LCD Control for Windows.
- Save the installer to a convenient location on your PC.
Step 2: Install the Software
- Unzip and run the downloaded installer and follow the on-screen instructions.
- Use the default installation path, unless you’d like to choose a custom location.
- Once the installation is complete, launch LCD Control for the first time.
Step 3: Configure Your Display
- When LCD Control opens, it will automatically detect supported LCD panels connected to your PC.
- Select your device (USB or HDMI connected screen) from the list.
- If your display doesn’t show up, double-check the USB/HDMI cables and restart LCD Control.
- Choose your preferred monitoring layout (CPU usage, GPU temps, RAM, FPS, etc.).
Step 4: Customize Your Dashboard
- Browse through the built-in layouts or import community templates.
- Use drag-and-drop to arrange widgets (CPU, GPU, temps, fan speeds, clock, network stats, etc.).
- Adjust colours, fonts, and backgrounds to match your PC theme.
- Save your layout so it loads automatically at startup.
Step 5: Start Monitoring
- Once your dashboard is set up, your LCD panel will display real-time system stats whenever your PC is on.
- LCD Control will run in the background to keep your display updated.
Troubleshooting Tips
- No Display Detected → Ensure both HDMI and USB are connected directly to your PC, not through a hub.
- Widgets Not Updating → Check that LCD Control is running in the background and allowed through your firewall.
- Performance Issues → Lower the refresh rate or reduce the number of widgets on your dashboard.
- Black Screen → Verify that your LCD screen is set to the correct input (HDMI/USB video).
The Following Video is a guide to installing the LCD Control Software
