Step 1: Download MoBro Monitor
-
Go to the official MoBro monitor website here MoBro.
-
Download the latest version of MoBro for Windows.
-
Save the installer to a convenient location on your PC.
Step 2: Install the Software
-
Run the installer and follow the on-screen prompts.
-
Choose the default installation path unless you prefer a custom location.
-
Once complete, launch MoBro Monitor for the first time.
Step 3: Configure the Display
-
On launch, MoBro will scan for connected displays.
-
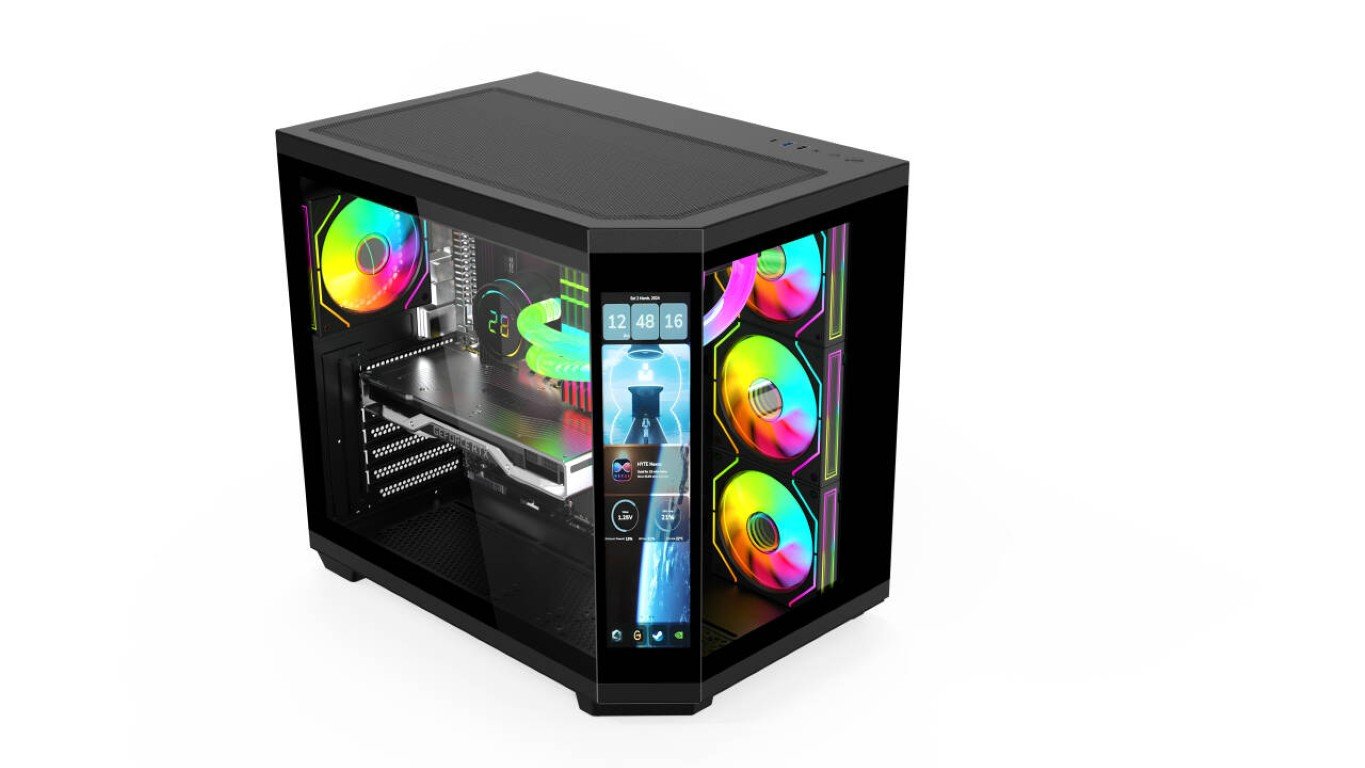
Select your Apex Vision case display from the list.
-
If it doesn’t appear, check that the display’s USB and HDMI connections are secure.
-
-
Choose your preferred monitoring layout (CPU, GPU, temps, usage, etc.).
Step 4: Customize Your Dashboard
-
Browse through MoBro’s widget library to select the stats you want to monitor.
-
Drag and drop widgets to arrange them on the Apex Vision screen.
-
Adjust fonts, colors, and themes to match your PC build.
Step 5: Start Monitoring
Once configured, the Apex Vision’s front-panel screen will automatically display your real-time system stats whenever your PC is running.
Troubleshooting Tips
-
No Display Detected: Ensure HDMI and USB are both connected directly to your PC.
-
Widgets Not Updating: Check that MoBro is running in the background and allowed through your firewall.
-
Performance Issues: Use fewer widgets or lower the refresh rate in MoBro settings.
The Video Below will show you how to install and configure Mobro and is recommended for new users